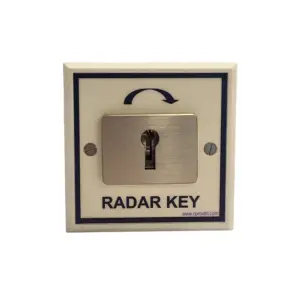
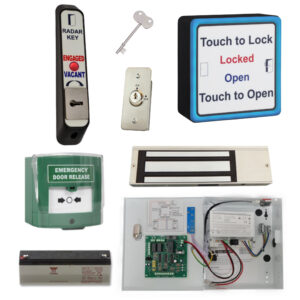
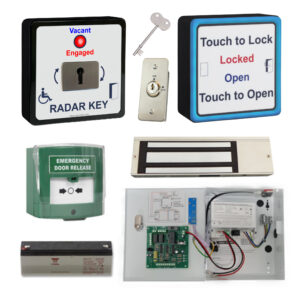
Our robust Radar Toilet Indicator Key switch Entry Unit is designed for disabled toilets, ensuring safe, independent access. The facility is secure, and only people with Radar keys can gain access, preventing misuse by the general public.
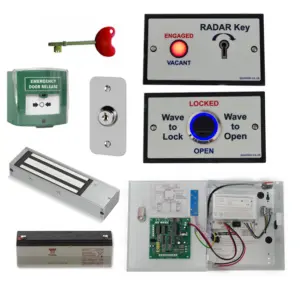
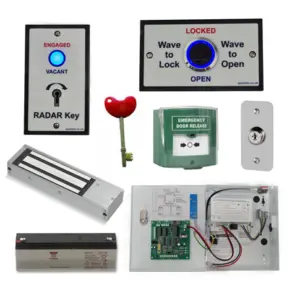
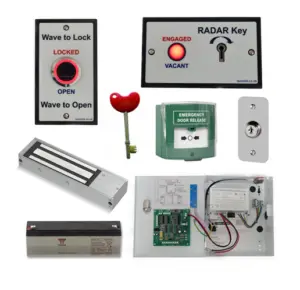
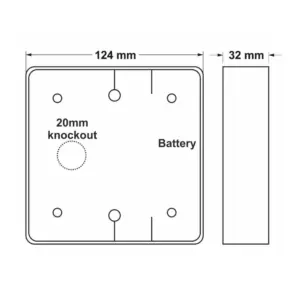
Crafted from a powder-coated aluminium plate, the unit features a stainless steel electronic radar key switch mechanism, antimicrobial fascia, and an LED status indicator. It is engineered for flush fitting to double-gang back boxes and integrates seamlessly with our WCPCB system.
How it works:
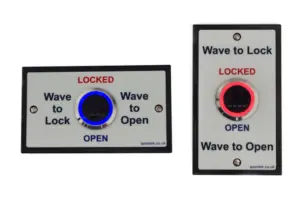
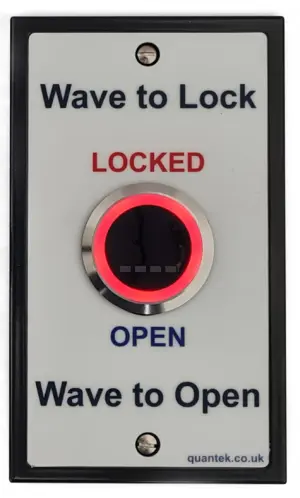
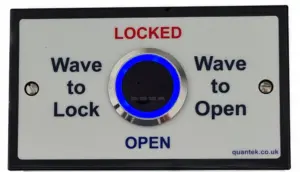
- Entry: The toilet door is normally locked. If vacant, as shown by the blue LED, the user inserts their Radar key and turns it right to unlock and open the door.
- Locking the door: Once inside, the user activates the internal button or sensor. All LEDs turn red, indicating the toilet is occupied. The external Radar key switch is disabled to prevent others from unlocking the door.
- Exit: When finished, the user activates the same sensor to unlock and open the door. The LEDs revert to blue, signalling vacancy again.

What is a RADAR Key??
RADAR Keys allow disabled people to open locked accessible toilets all over the UK. Disabled toilets are common, and certain premises are required to have them by law but they are often locked to ensure they can only be used by people who need them. This can become a problem if a member of staff is not on hand with the key when you need it. If you have mobility problems getting a key in advance is a very good idea. We stock these if you are in need of any extras.
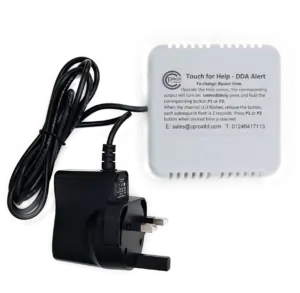
A radar key is supplied for testing.
To discuss this product in more detail, or to explore bespoke labels or system options, please contact us. Our team will be happy to assist with technical guidance, custom requirements, or project specifications.